
New techs ask me some version of the same question constantly: "what do I actually need in my kit?" It's a fair question, and it's also one I'm careful about answering, because specific brand choices are personal, they shift with the market, and what works in one region's supply chain isn't always available in another. What I can give you is the shape of a professional kit: the categories every working business has covered, and what to actually think about within each one. Get the categories right, and the brand names sort themselves out.
Isolation and prep
This is the category nobody sees in the final photo and the one that determines whether your bond actually holds. A dry, properly isolated field is the foundation of every gem you place. That means a way to keep the tooth surface dry and free of saliva for the duration of the bond, good retraction so you have a clear, unobstructed view of the surface you're working on, and a reliable way to clean and lightly condition the enamel before you bond anything to it.
Skimp here and it doesn't matter how good your gems are or how steady your hands are. A gem bonded to a surface that wasn't properly prepped is a gem that's going to come off early, and an early loss is the fastest way to lose a client's confidence, even when the gem itself was flawless.
Bonding system
Your bonding system is the single most consequential product decision in your kit. It's what stands between "this held for months" and "this fell off in a week." A good system has a few things going for it: it's actually formulated for enamel, it gives you a working window that suits how you like to work (some artists want speed, some want more time to adjust placement before it sets), and it's from a supplier who can tell you exactly what's in it and how it's meant to be used.
This is genuinely one of the places where "cheaper" and "worse" tend to travel together. A bonding system that's inconsistent from batch to batch will show up as inconsistent results across your clients, and you'll spend more time troubleshooting failed bonds than you would have spent paying for a system you can trust.
Curing
Your curing light needs to match your bonding system, not just be "a curing light." Wrong wavelength or insufficient output for the material you're using means an undercured bond that looks fine on the day and fails weeks later, often after the client has already told three friends how happy they are with you. Check your bonding system's cure requirements and buy a light suited to that, not the other way around.
It's also worth having a light you trust enough that you're not second-guessing your cure time on every single gem. That hesitation shows up in your pacing during an appointment, and a client who watches you hesitate reads it as uncertainty, even if your technique is actually solid.
Gem selection and quality
This is where a lot of new techs try to save money, and it's usually the wrong place to cut. A cheap gem with inconsistent facets, dull clarity, or an uneven cut is the first thing a client's own eyes catch in daylight, days after they've already paid you and told their friends. Facet consistency and clarity are what make a gem actually catch light the way a client is picturing when they book you.
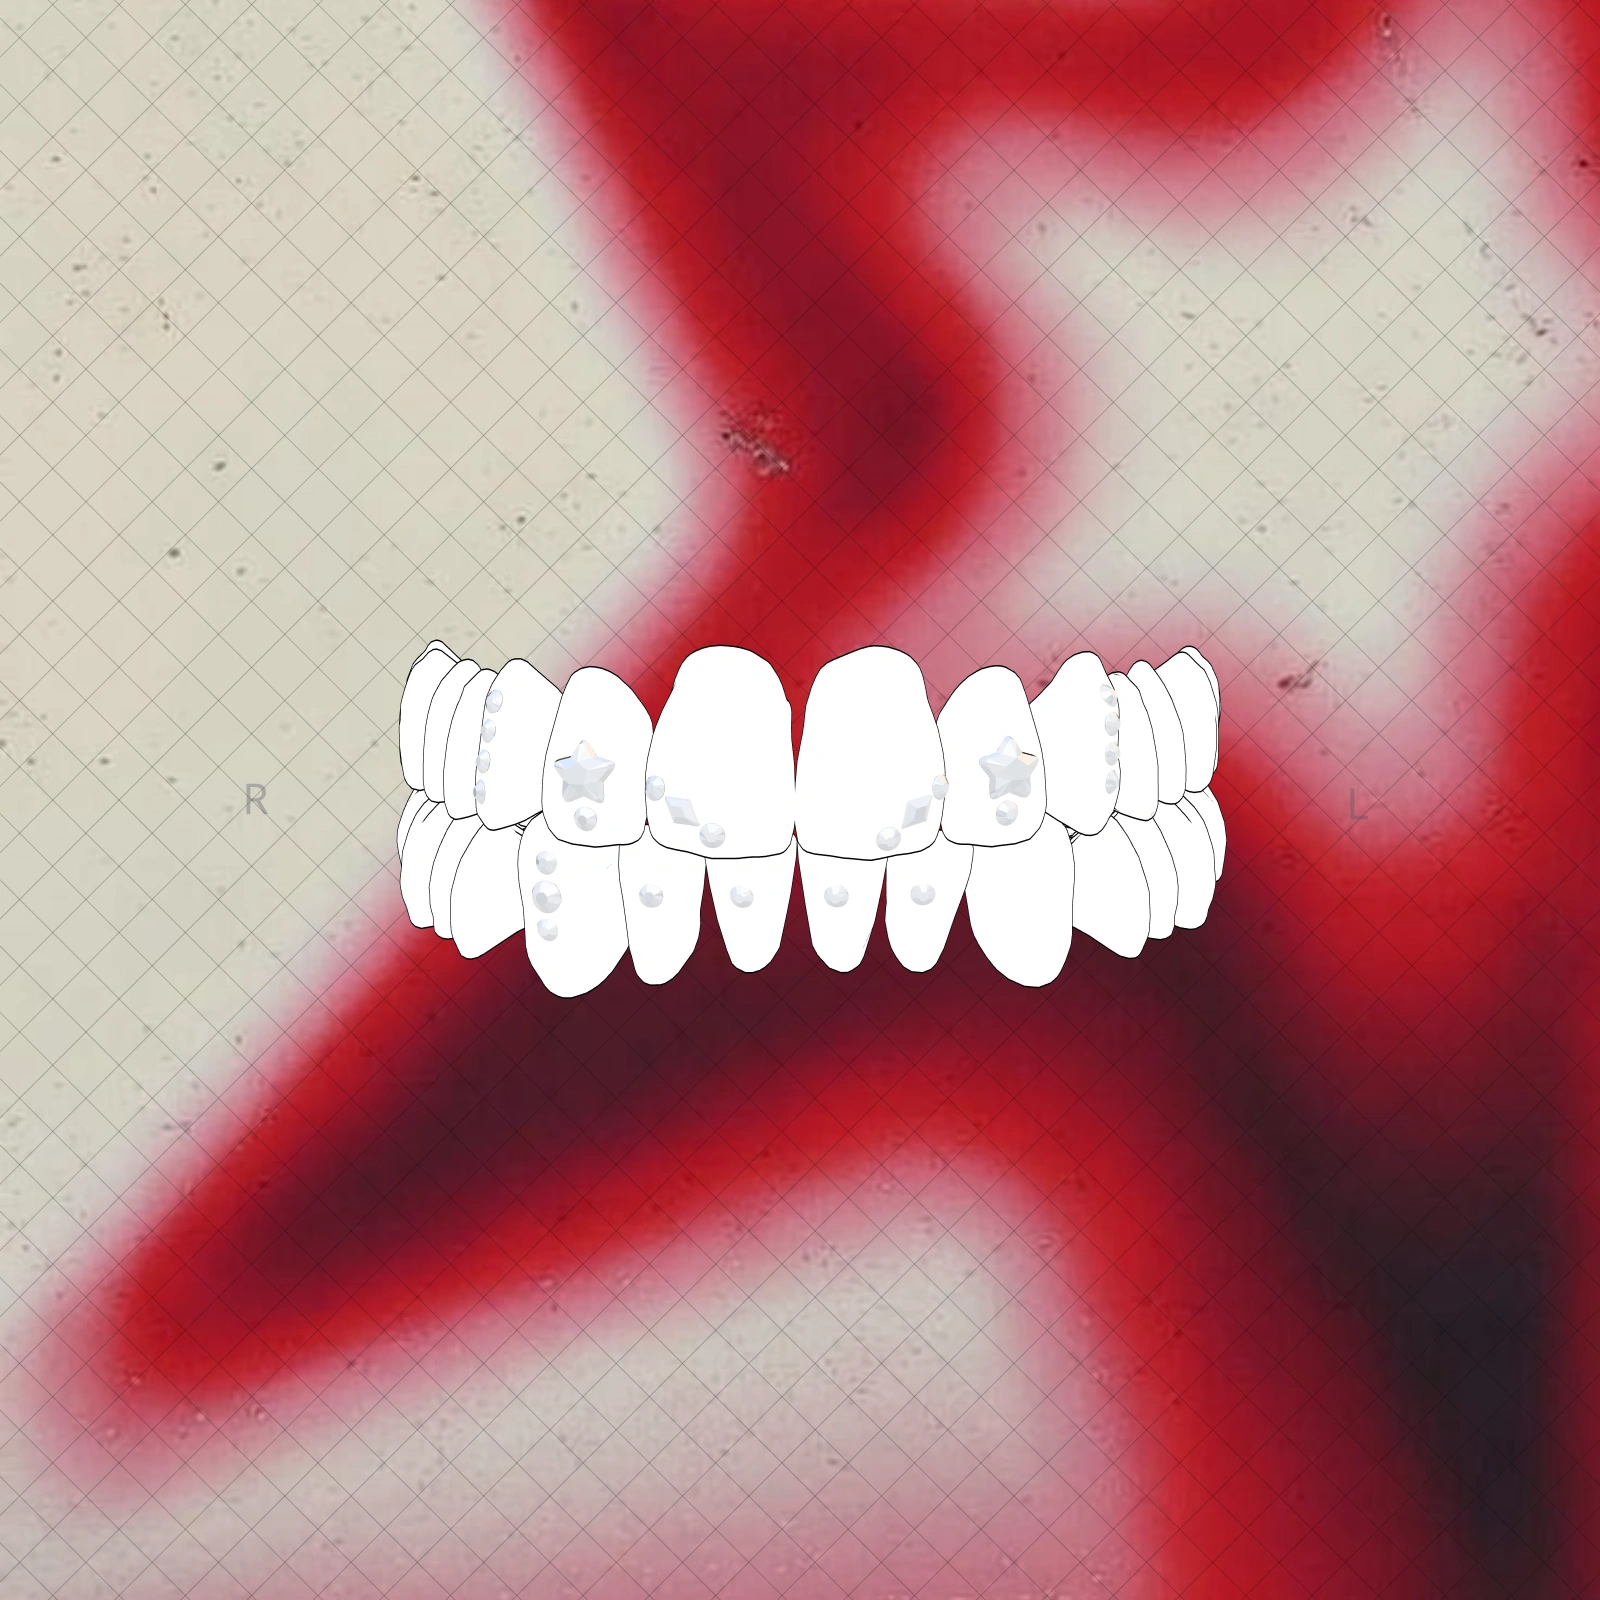
Redos are the hidden cost of cheap gems. A gem that clouds early, chips, or just never looked quite right in the first place usually means a free correction on your time, which is unpaid labour eating into a slot you could have booked someone else into. Paying more per gem for consistent quality is very often the cheaper choice once you count the redos you're not doing.
Build a range with a bit of depth: enough color and cut variety to give clients real choice, but curated enough that every option in your kit is something you'd be proud to put on someone's smile. This is also exactly where designing before you buy pays off. Laying a set out on a proper smile map before the appointment tells you precisely which gems you need pulled and ready, instead of guessing in the moment and hoping your kit has what the design calls for.
Application tools and precision
Placement tools are where technique and equipment meet. A good applicator or placement tool gives you fine control over exactly where a gem sits and how much pressure you're applying, which matters enormously once you're working close to a gumline or placing a gem at a precise angle for a design that depends on symmetry. Cheap, imprecise tools make good technique harder than it needs to be.
Good lighting and magnification belong in this category too, even though they're not technically "tools" in the traditional sense. You cannot place with precision what you cannot see clearly. If your workstation lighting is inconsistent or you're squinting to judge placement, that's a kit gap before it's a skill problem.
Hygiene and single-use items
Sterilization protocol and single-use items where they matter are not optional professionalism. They're the baseline that separates a tech running a real business from someone doing this out of a bathroom drawer. Disposable applicators, barrier items, proper sterilization for anything reusable, and a genuinely clean workstation should be non-negotiable parts of every kit, every appointment, no exceptions.
This category is also the one clients notice even when they don't say anything. A visibly clean, organized setup tells a client they're in professional hands before you've placed a single gem. That perception is doing marketing work for you that no portfolio photo can replace.
The non-physical kit
Here's the part that gets skipped in most "what's in my kit" conversations, and it's the part that actually determines whether an appointment feels chaotic or smooth: the paperwork and process behind the tools. A proper professional setup includes a signed consent form, a clear aftercare card the client actually keeps, a client record so you're not re-asking questions you already asked six months ago, and a smile map the client has approved before you ever pick up a gem.
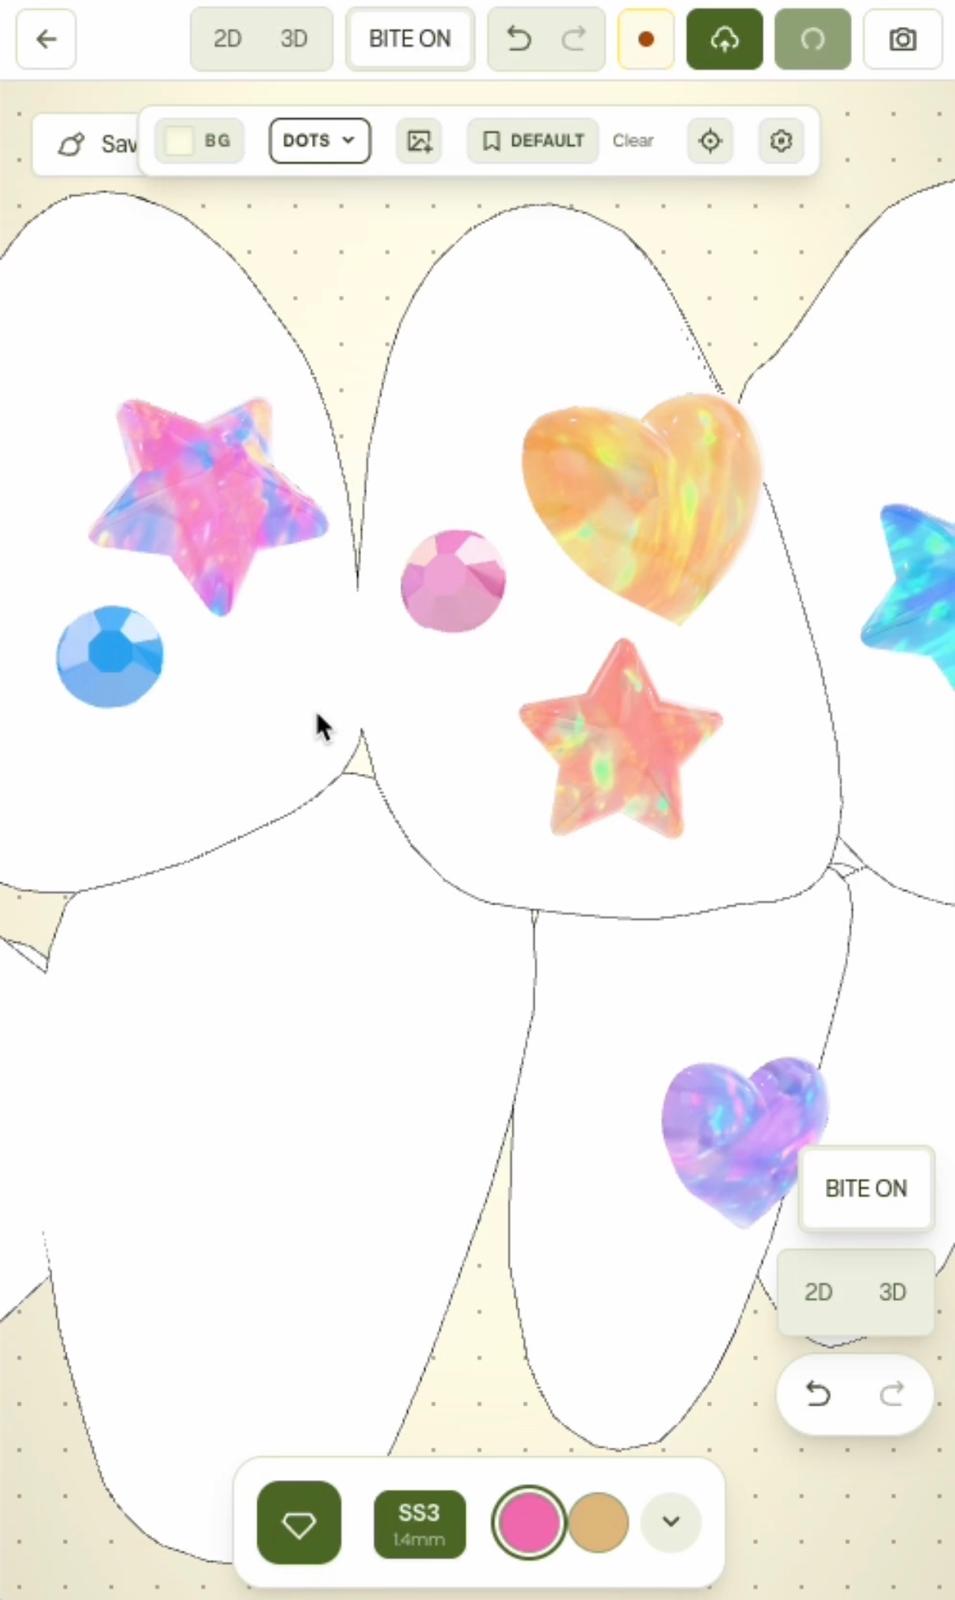
That last one changes an appointment more than almost anything on this list. When you walk in with a design already laid out and agreed to, you're not guessing your way through placement while a client watches. You're executing a plan. This is exactly why Smile Map exists alongside the physical kit: you build the full set on a realistic 3D tooth map, send the client a clean view-only link before the appointment, and their consent and service history live tied to their client record instead of scattered across screenshots and old texts. The gems are the craft. The record-keeping is what makes the craft repeatable and professional, appointment after appointment.
Build it in the order that matters
If you're just starting out, get isolation, bonding, and curing right first. That's the foundation everything else sits on. Add gem quality and precision tools as your technique and your budget grow. And bring the non-physical kit in from day one, because a consent form and a smile map cost you nothing but a bit of setup time, and they're the fastest signal to a client that they've booked someone who runs this like a real business.
Specific brands are always going to be a personal call, shaped by what's available in your market and what you've trained on. The categories above aren't. Get those right, and you've got a kit that holds up to a full booking calendar, not just a good first impression.
Related reading
Frequently asked questions
What is actually essential in a tooth gem starter kit?
At minimum: proper isolation and prep tools, a reliable bonding system, a curing light suited to that bonding system, a starting range of quality gems, precision placement tools, and single-use hygiene items. Everything past that is refinement, not requirement.
Why do cheap gems cost more in the long run?
Inconsistent facets and poor clarity are the first thing a client notices in daylight, and a gem that clouds or chips early usually means a free redo, which is unpaid labour plus a client who now doubts your judgment. Paying more upfront for consistent quality is often cheaper than the redo.
Do I need a formal consent form and aftercare card?
Yes. They are not paperwork for paperwork’s sake. A signed consent form and a clear aftercare card protect you if a client forgets what was agreed, and they signal to every client that they are booking with a professional, not a hobbyist.
What is the non-physical part of a professional kit?
A smile map the client has already approved, a consent record, an aftercare card, and a client history you can pull up in seconds. Smile Map is built to hold that whole non-physical kit so it lives with the client, not scattered across screenshots and old texts.